Whether you're a beginner sower or a green fingered grower we're here to help kick things off this spring. Once you've started your seeds indoors, follow the tips below to transplant your seedlings and watch them bloom in your garden.
If you haven't ordered your FREE seeds, what are you waiting for?! Fill in this form and your seeds will be delivered straight to you.
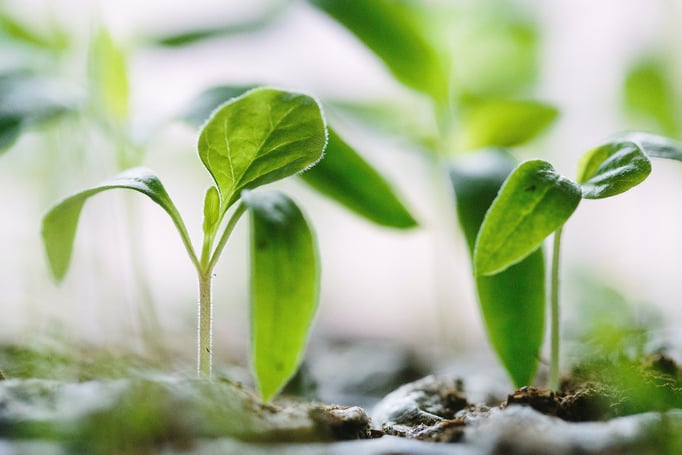
When is it best to transplant?
Transplanting seedlings depends on the variety of plant. Some should be planted before outdoor temperatures get too warm and others before it gets too cold. The temperature of the soil is important and could affect how well the seedlings grow. Ideally, you should be transplanting 3 weeks after they sprout or when you have 1-2 sets of true leaves.
Get your garden seedling ready
Over winter your garden soil can become compacted, so you will need to loosen and aerate the soil before planting. Remove any rocks and weed roots to. You can also spread black plastic or landscaping fabric across the garden to help the soil temperature a couple weeks before planting so that you don’t shock the seedlings after planting.
The week before you start to transplant the seedlings water less often to make it easier for them to adjust to being outdoors where the weather changes so much. Gradually transition the seedlings to the outdoors, or they’ll go through shock. Start by watering the plants thoroughly. Then, 7 to 10 days before transplanting, set the seedlings outdoors in spotted shade that is protected from wind for a few hours each day, gradually increasing their exposure to full sun and windy conditions. This will get them accustomed to being outdoors.
Transplant from pot to soil in 10 steps
The best time to transplant your seedlings is in the early morning – ideally when it is slightly overcast, so that it gives the plants a chance to settle into the soil and not be instantly exposed to hot sun.
- Check soil moisture, the soil needs to be moist and not soaked with water. If the soil too dry it will pull moisture out of plant roots which damages them.
- Use a rake to create a smooth and level surface.
- Dig a hole that’s a little bit bigger in width and depth than the plant’s root.
- Turn the pot upside down being careful not to crush or drop the seedling. Tap the bottom of the pot to help the seedling out.
- Place the seedling in the hole then cover the seedling with about ¼ inch of soil.
- Gently tap down the soil around the seedling’s roots.
- Water the soil around new seedlings immediately after transplanting in order to settle the roots.
- A day or two after transplanting, you can give each seedling a cup of a starter fertilizer.
- Keep an eye on the weather to see if there are going to be any frosts so you can make sure your seedlings are protected. You can cover the seedlings over night, but make sure you remove protective coverings in the morning.
Get your seedlings off to a great start
After you transplant, keep the soil bed moist, never allowing it to dry out. Water gently with a watering can at the soil level (not from above). When the plants are established, water every one or two days so the soil surface remains moist. Enjoy the fruits of your hard labour once the seedling has grown.